Actions are the building blocks of AC's visual-scripting system, and ActionList assets are asset files that contain them. Their advantage over scene-based Cutscenes, Triggers and so on is that they can be run from any scene.
However, lets say we want to have such an asset manipulate or refer to an object in the scene. This can't be done directly - since when the scene is closed, the reference is lost. AC provides a way to restore such links when the scene is re-opened, however, which we'll cover here.
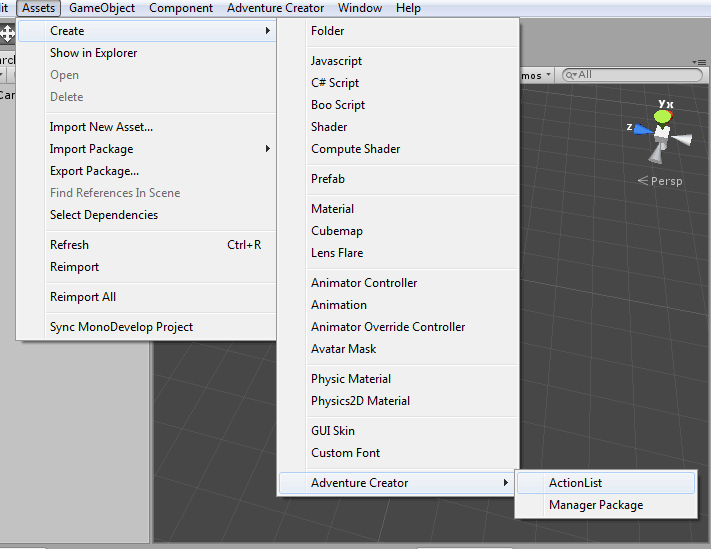
In this tutorial, we'll create an ActionList asset that momentarily cuts to a camera that looks over the whole scene from above. Begin by creating a new ActionList asset by choosing Create → Adventure Creator → ActionList in the top toolbar.
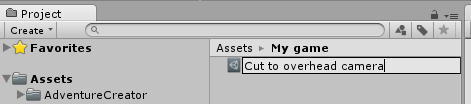
The new asset will be created in the Project window - rename it to something like Cut to overhead camera.
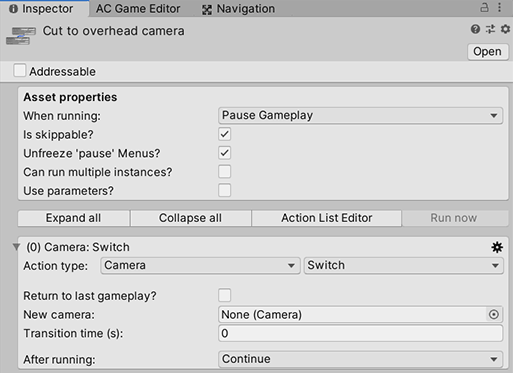
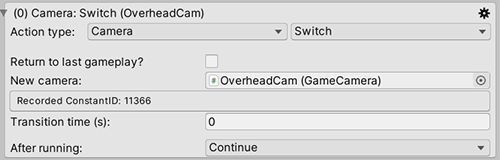
Next, we'll create the Actions necessary. Using the Inspector window, create a new Action of the type Camera: Switch, leaving the settings as their default.
Add an Engine: Wait Action, and set the Wait time to 2 seconds:

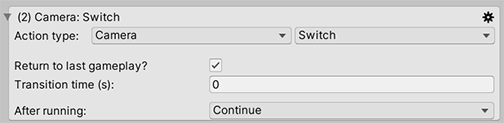
Finally, add one more Camera: Switch Action, and check Return to last gameplay?.
We'll need to go back to our first Action and assign our overhead camera. But first, we need to actually create such a camera. Within the Scene Manager, double-click on the GameCamera icon to create a new camera.
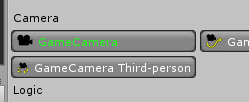
The type of camera you use doesn't matter - if you're making a 2D game, just use a GameCamera 2D instead.
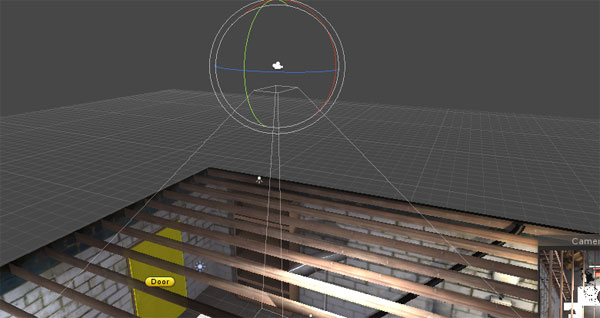
Rename it OverheadCam, and position it such that it looks down over the scene.
Then, assign it to the 1st Action's New camera field by dragging it into the field as normal. Notice that a ConstantID number is now recorded beneath it. This number is used by the ActionList to remember the camera reference when the scene is closed. Here, the number is 11366:
Be sure to save the scene: the ID number is generated by automatically adding the ConstantID script to the camera object. The scene will need to be saved, to ensure the script remains attached to the camera.
Our ActionList asset is now ready. We can try it out by running the scene, going to the ActionList asset's Inspector, and clicking Run now. Our game will then cut to our OverheadCam for two seconds, and then cut back.
Let's not stop here, though - in the next tutorial, we'll extend this to work in any scene!