2D adventure games traditionally feature an on-screen Player, side-scrolling camera, and other dynamic elements. Those aspects are covered in the tutorials that follow, but here we're going to focus on the most simple game type possible - a 2D "slideshow" game that does away with a Player character and movement, and just involves clicking Hotspots to solve puzzles.
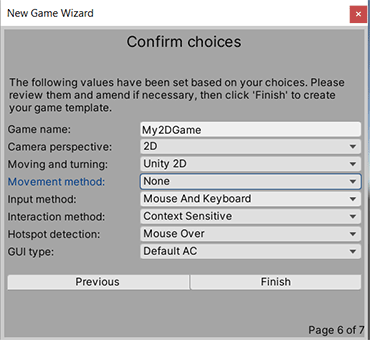
We'll start by using the New Game Wizard to create a new 2D game. Since we don't have a Player character, we can set the Movement method to None. To get up and running quickly, opt to rely on the default AC interface as well:
From AC's Game Editor window, open the Scene Manager and click either Without folders to create a new AC scene with a bare-bones Hierarchy.
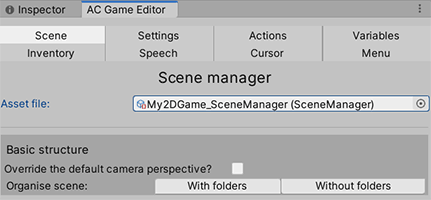
The Scene Manager will then populate itself with all of the settings and prefabs available for this scene.
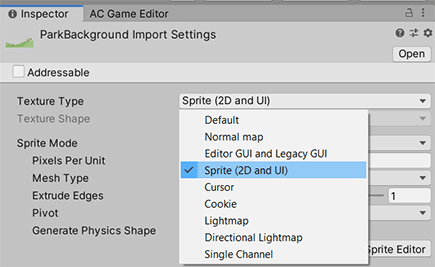
We'll need a background image, so import some graphics for it and make sure its Texture type is set to Sprite (2D and UI) so that it can be dropped into the scene.
Place the background sprite into the scene, and adjust the MainCamera so that it's facing it. You may need to pull it back along the Z-axis. To avoid perspective issues, set the Camera's Projection to Orthographic, and adjust the Size below so that the background fills the screen:
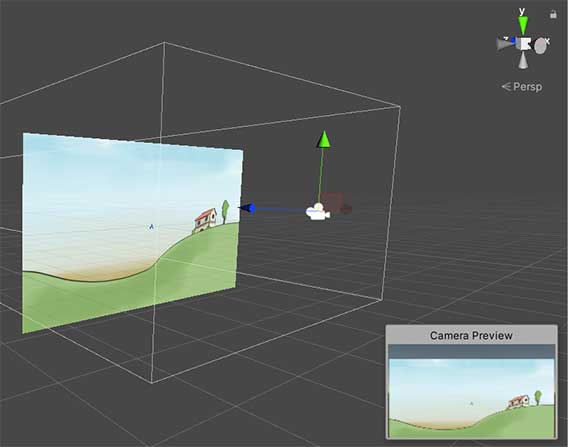
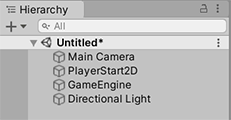
In more complex games with camera movement, the MainCamera is normally attached to a "GameCamera", which acts as a position reference. If the camera never moves, however, we can just work with the MainCamera directly.
Note that not all of your art needs to be in a single sprite - you can place down as many sprites as you like to make up your scene. Here, we've added a few more sprites from AC's 2D Demo game:
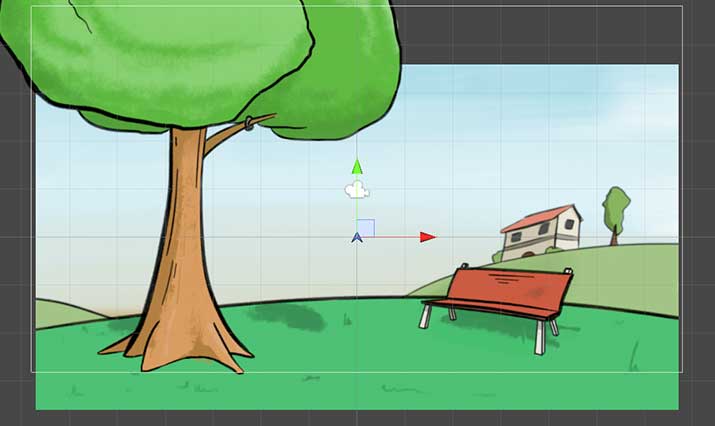
You can adjust the Sorting Order of each object's Sprite Renderer component to control the order that sprites are drawn in.
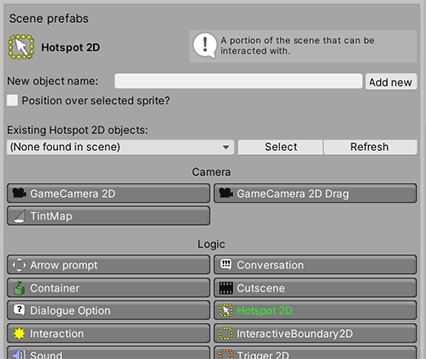
To make parts of the scene interactive, we can create Hotspots that cover the portion of the background that we want to be interactive. A Hotspot can be created in a few ways: the quickest is to click Hotspot from the Scene Manager, under the list of "Logic" prefabs:
The Hotspot will be represented by a yellow cube in the scene. Reposition and reshape this in the Scene window so that it covers the object you wish to make interactive:
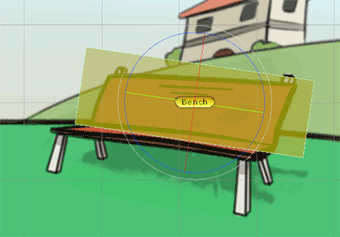
If you want a more accurate shape, you can replace the Hotspot object's Box Collider 2D component with a Polygon Collider 2D component, which allows for more complex shapes.
If we run the game now, we can hover over this Hotspot with the mouse to have its name appear. This is because we're making use of AC's default interface, which includes a Hotspot menu that shows whenever an interactive object is active.
Let's make something happen when we click on the Hotspot. Exit Play Mode, and open up the Hotspot's Inspector. Towards the bottom, click the + icon inside its Use interactions panel to create a new "Use" interaction.
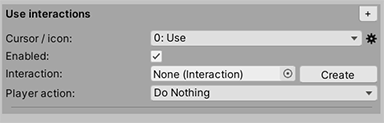
What exactly happens when we use the Hotspot is determined by the contents of its Interaction ActionList. An ActionList is a set of commands that are run in sequence, and are the basis of AC's visual-scripting system. Click Create to the right of the Interaction field to create a new ActionList automatically.
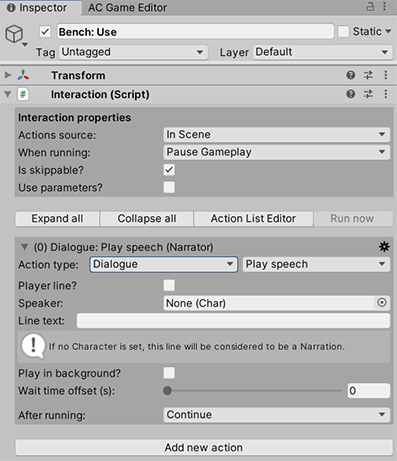
If we then select this Interaction from the Hierarchy, we can edit its Actions. Lets keep things very simple, and change the default Engine: Wait Action to a Dialogue: Play speech Action:
We can leave the Speaker field empty as we have no characters, and instead just type in some text below:
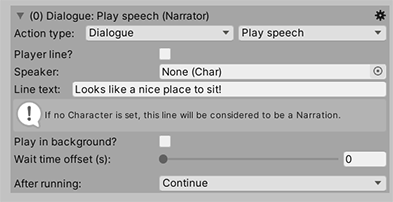
At runtime, this text will then appear when the player clicks on the Hotspot:

Save the scene, and add it to Unity's Build Settings. This can be accessed from the File menu in the top toolbar:

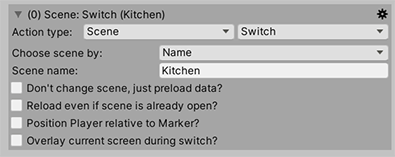
If we have another scene that's also added to Unity's Build Settings, we can switch to it using a different Action type, Scene: Switch. For example, here's what a "Use Interaction" ActionList may look like for a Door hotspot that goes into a scene named Kitchen:
Since we're still AC's default interface, we can also make use of the built-in Pause menus to save our game - accessed either by the "Menu" button in the lower-left corner, or by pressing the Escape key:
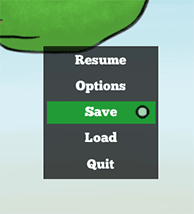
So long as we're in gameplay, and we're in an "AC" scene that's been added to Unity's Build Settings, we can save the game. We can load save-game files from the Load menu at any time.
The tutorials that follow deal with adding dynamic elements, such as a Player character, camera movement etc. Hotspots and interactivity, on the other hand, are a big topic - so dedicated tutorials can be found here. Don't be put off by them involving 3D - the principles involved work for games of both perspective types.