Journals and multi-page notes are an interesting way of giving the player information and clues. Adventure Creator lets you create journals that can be browsed through by the player, and added to as the game goes on.
In this tutorial, we'll create a diary that can be read at any time, and add another page to it after the player solves a puzzle.
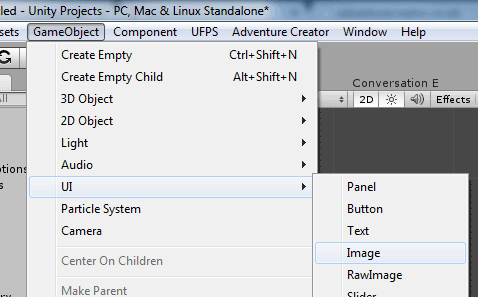
We'll make this diary using Unity's UI system, though we could also build it using AC's own Menu system. Begin by creating a new Text object by choosing GameObject → UI → Image from the top toolbar.
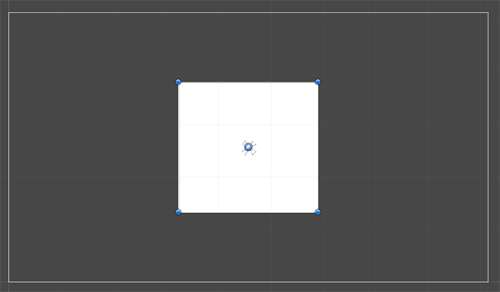
An Image and Canvas objects will have been created. Select the Canvas, and change the Ui Scale Mode to Scale With Screen Size (or whichever is appropriate for your game). Rename it to DiaryCanvas.
Select the Image, which will act as our background image, and rename it to Background. Re-position and re-style it as appropriate - here, we've just made it a solid white colour:
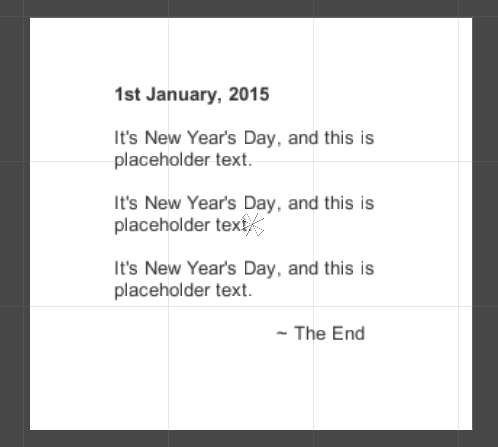
We now need a Text object that will display above it, to store the diary's text. With DiaryCanvas selected, create a new UI Text object from the same toolbar menu. Again, re-position it and re-style it as appropriate. It will help to enter some placeholder text at this stage:
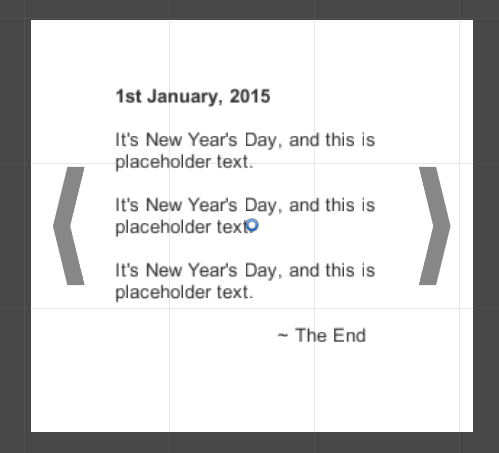
Next, we need to create two Buttons that the player can click to navigate back and forth between the various pages. Create them from the same toolbar menu, name them PageLeft and PageRight, and style them similar to the following:
With the UI complete, make it a prefab by dragging DiaryCanvas into your Project folder. Then delete the original Canvas object from the scene.
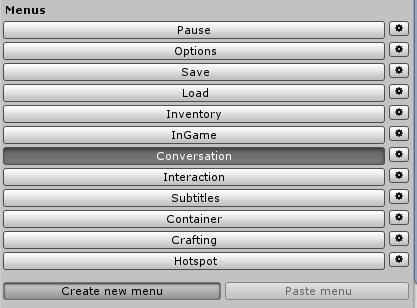
We're now ready to link this UI to Adventure Creator. Open the Menu Manager, and click Create new menu.
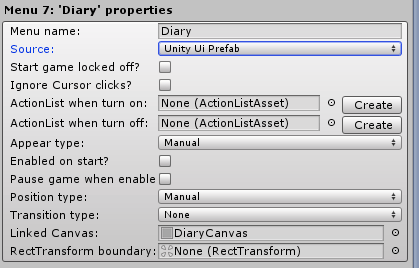
Rename the Menu Diary, and set it's Source to Unity Ui Prefab. Leave the Appear type as Manual, and drag the DiaryCanvas (the prefab, not the scene object) into the Linked Canvas field.
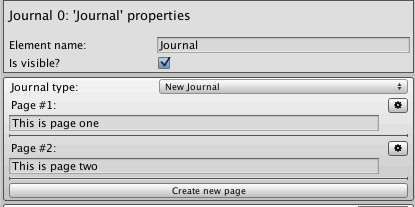
We'll have to create Menu Elements for the diary's text box and two buttons - let's start with the text box. Choose an Element type of Journal and click Add new.

Click Create new page to create two pages, and use the interface to give each words of your choice:
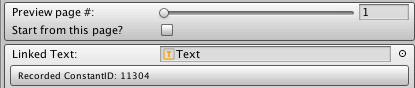
Now drag the Text UI object (again, the prefab instance) into the Journal's Linked Text field. If you cannot access it (e.g. if it is too far down the child stack), then use the scene-based instance, and Apply the changes up to the prefab afterwards. When done correctly, a Recorded ConstantID line will appear beneath:
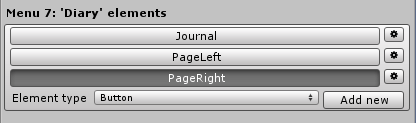
Now it's time to link the two buttons. Create two Button elements in the same way, naming them PageLeft and PageRight respectively.
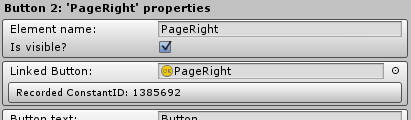
For each button, drag it's associated UI Button into it's Linked Button field:
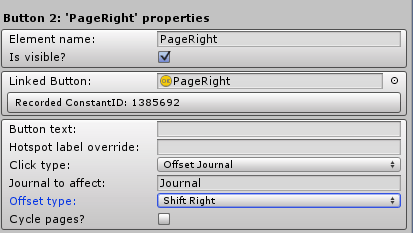
Now set the Click type of both to Offset Journal. Enter the name of your Journal element (in this case, Journal) into the Journal to affect box. The only difference between the two should be the Offset type, which should be Shift Left for PageLeft and Shift Right for PageRight.
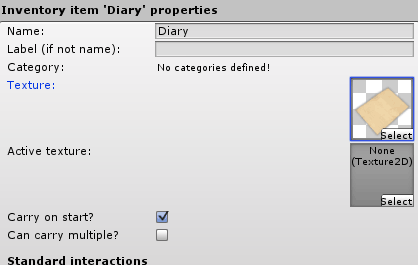
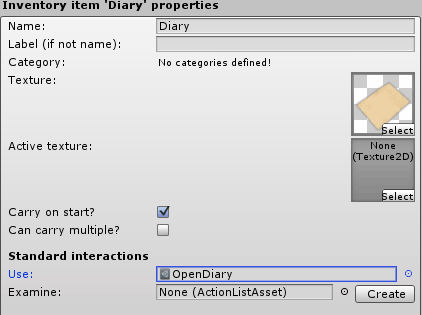
Our diary's UI is now complete, but we need a way to turn it on. We'll let the player access it from their Inventory, so we'll need to provide an Inventory item. Open the Inventory Manager, and click Create new item. Rename the new item Diary, give it an appropriate Texture, and check Carry on start?.
When the player normally clicks an Inventory item, the Item is sent to the cursor so that it can be used on scene objects or combined with other items. We want to override this for the diary item - instead, we want the Diary UI to appear when the item is clicked.
We can do this by supplying an ActionList asset into the Item's Use field. Find the field in the items Standard interactions, and click Create to automatically create and assign a new ActionList asset file. Rename the asset OpenDiary:
Select the OpenDiary asset and view it's Inspector. Click Add new Action, and set the new Action's type to Menu: Change state. Leave the Change type as Turn On Menu, and enter the name of your diary Menu as the Menu to turn on (in this case, Diary).

Now run your game, and click on the Diary item in your Inventory. Am Inventory menu is provided as part of the default interface when using the New Game Wizard.
The Diary menu will open, and you can flip between the two pages using the side buttons. However, there's not yet a way to close it. We could do this a number of ways, such as adding a "Close" button to the Menu, but we'll instead make the Inventory item a toggle button. That is, if the menu is already open, then clicking it again will close it.
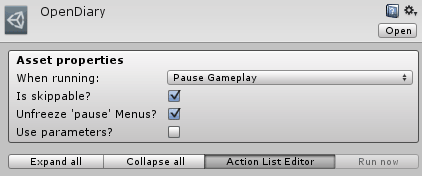
Re-select the OpenDiary asset and view it's Inspector. We'll be making our ActionList slightly more complex, so let's use the ActionList Editor window to build it. Open the window by clicking Action List Editor in the Asset properties box.
Right-click inside the window and click Insert new Action. Change the new Action's type to Menu: Check state, and then click on the cog icon to it's top-right, and click Move to front.

Create one more Menu: Change state Action, and arrange them as follows:
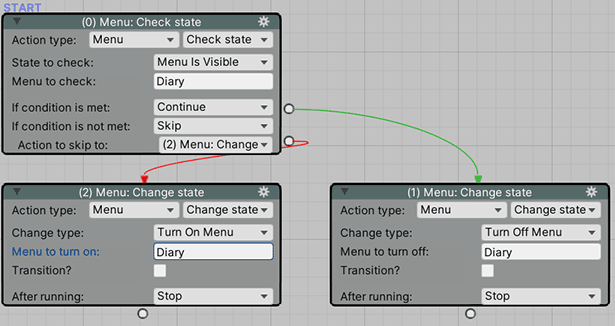
Clicking the Diary Inventory item will now toggle the Diary Menu on and off.
Finally, let's add a new page to our diary in-game. Open the Scene Manager, and double click the Cutscene prefab icon to create a new one. Rename it to Add diary page.
Change the Cutscene's Action to another Menu: Change state, and set the Change type to Add Journal Page. Enter in the name of your Diary Menu's name, and Journal element's name, into the fields below, as well as some text for the new page:
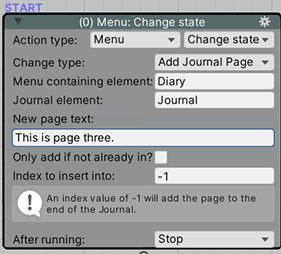
When this Cutscene is now run (whether it be through a Trigger, Hotspot Interaction or other scene logic), a new page will be added to the diary.