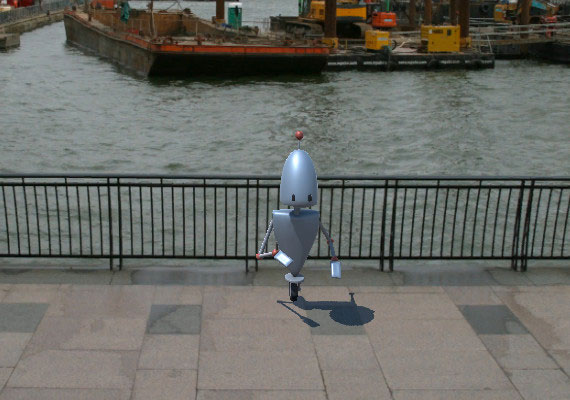
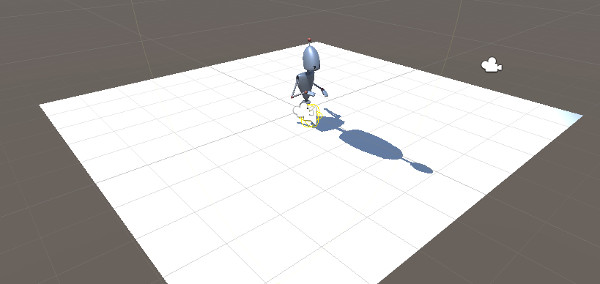
Adventure Creator is not a graphical asset, and instead relies on Unity's own rendering capabilities. However, one common requirement for 2.5D games is the ability to display shadows without the floor mesh - so that they can show above the background image:
The 2.5D tutorial includes a Matte Shadow shader, but this only allows shadows for directional lights. In this tutorial, we'll be making changes to a pre-existing scene to allow shadows for lights of all types. Note there are multiple approaches that can be taken, and you may find that another technique is more appropriate for your game's needs.
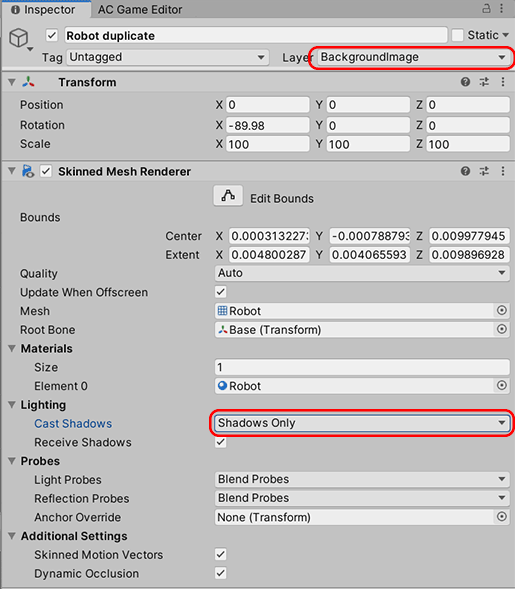
First, move your Player prefab into the scene, and duplicate their Skinned Mesh Renderer gameobject. Then place it on the BackgroundImage layer, and set the Cast Shadows value to Shadows Only.
Next, add a Plane to act as the floor, and place it on the BackgroundImage layer as well. Note that this can be your existing floor object if you already have one, but as the Navigation Mesh should be placed on the NavMesh layer, that should not be used.
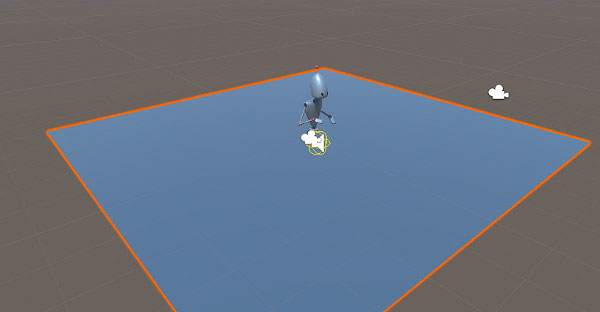
As well as the floor, you can also create other meshes to act as your scene's walls, etc - so long as they are all placed on the BackgroundImage layer and have the default white standard shader.
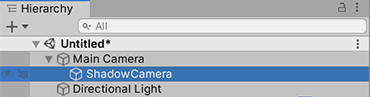
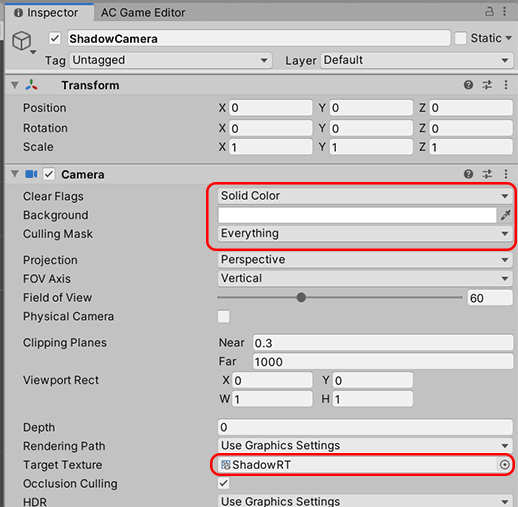
Choose GameObject → Camera from the top toolbar to create a new camera, and name it "ShadowCamera". Remove its Audio Listener component, and parent it to the MainCamera:
Then set it's position and rotation to (0,0,0) so that it shares the same transform as the MainCamera.
In your Project window, create a new Render Texture asset file, and name it "ShadowRT". Viewing its Inspector, set its Size values to match your game's intended resolution:

Going back to ShadowCamera, set the Culling Mask to BackgroundImage, Clear Flags to Solid Color, the Background colour to white, and Render Texture as the new ShadowRT asset.
The Camera's Field of View value will also need to match your MainCamera's, which may change during gameplay. To do this, create a new C# script named CopyFOV.cs, and replace its contents with the following:
using UnityEngine;
public class CopyFOV : MonoBehaviour
{
	private Camera thisCamera;
	private void Update ()
	{
		if (thisCamera == null) thisCamera = GetComponent <Camera>();
		thisCamera.fieldOfView = Camera.main.fieldOfView;
	}
}
Then attach the new Copy FOV component to the ShadowCamera GameObject.
Next, find your scene's main light, and duplicate it. In the Light component, set the Culling Mask to BackgroundImage, and enable shadows.
Especially if the light's Type is Point, you may need to raise the Intensity so that the floor plane you created earlier is completely white except for the shadows cast by your character:
To overlay the render texture over the MainCamera, we'll need an overlay screen effect. Unity used to provide one with their "Legacy Image Effects" package, but this has since been deprecrated. However, we only need a couple of files from it:
Note: Though these have both been adapted to work alone, they're still provided by Unity Technologies
Download the two files above into your project, and then attach the new Screen Overlay component to your MainCamera object. Set the Texture as the ShadowRT render texture asset, and the Shader to Hidden/BlendModesOverlay:

You should now have shadows rendering on top of whatever background image you have, without the need to see the floor mesh as well.