A pre-made Player prefab, set up to provide smooth first-person movement, can be downloaded here:
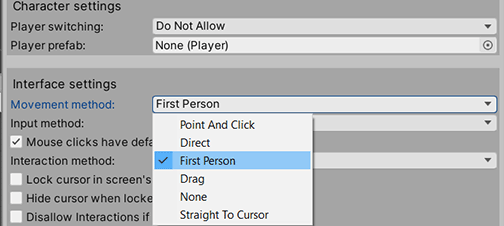
To make a first-person Player, first set your Settings Manager's Movement method to First Person:
Next, open up AC's Character wizard by choosing Adventure Creator → Editors → Character wizard from the top toolbar.
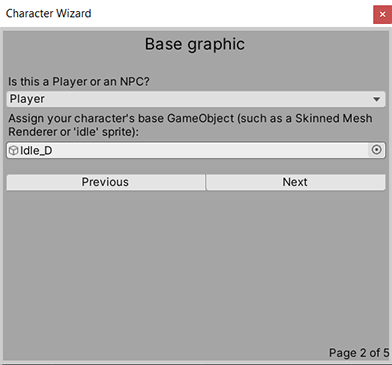
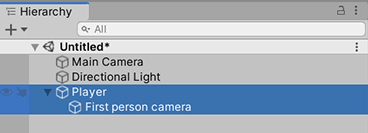
Opt to make a new Player character, and click Finish. A new Player will be added to the Hierarchy:
You can adjust the height of the camera by changing the First person camera Transform's Y-position. Other settings in the First-person camera component can be used to tweak the camera's behaviour:
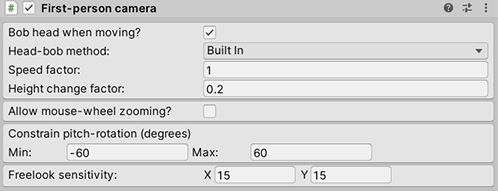
You can also add a First Person Camera component to a Player with a 3D model and animation, but make sure that Apply Root Motion is unchecked in their Animator - otherwise, they'll have trouble moving.
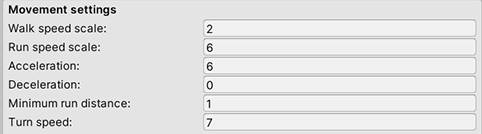
The player's underlying movement speed can be controlled in the Player component on the root object:
Back in the Settings Manager, you can configure whether or not the cursor is locked - so that free-aiming is possible - with the Lock cursor in screen's centre when game begins? option. You can disable free-aiming at runtime with the Player: Constrain Action.
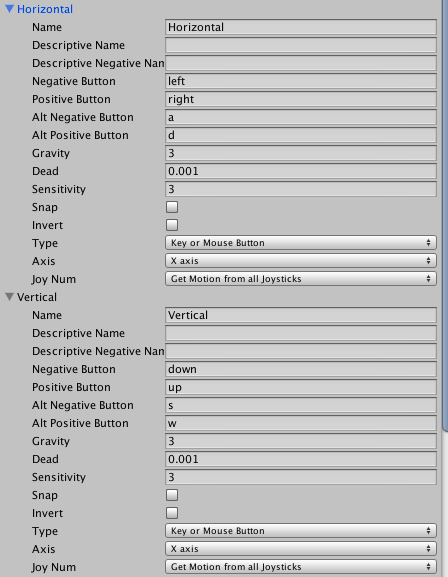
The Required inputs panel will list a few new inputs that are necessary for first-person controller:
- Horizontal - side-step left and right
- Vertical - move back and forth
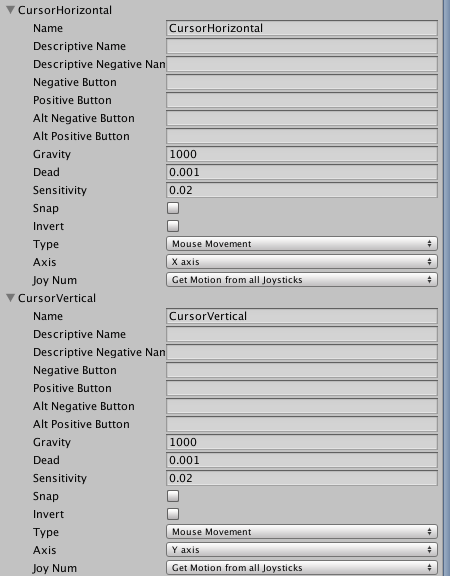
- CursorHorizontal - free-aim horizontally
- CursorVertical - free-aim vertically
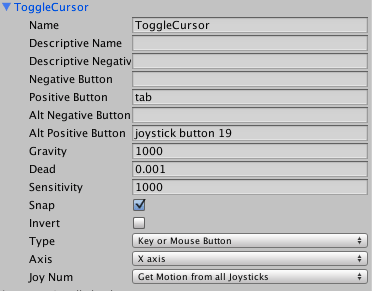
- ToggleCursor - toggles the cursor (optional)
These inputs can be added by going to Edit → Project Settings → Input in Unity's top toolbar. Here are some recommended settings for them: