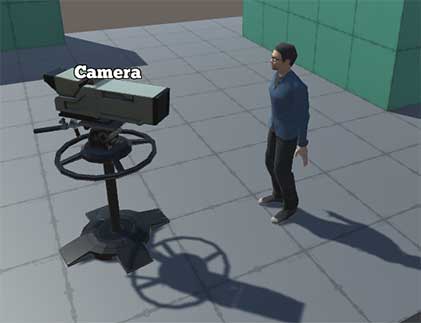
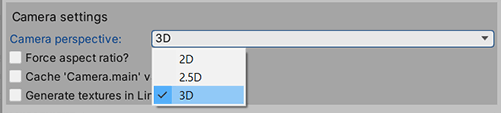
Once you've created a set of Managers using the New Game Wizard, we can start making scenes! If you didn't already, just make sure that your game's Camera perspective is set to 3D. This can be found in the Settings Manager:
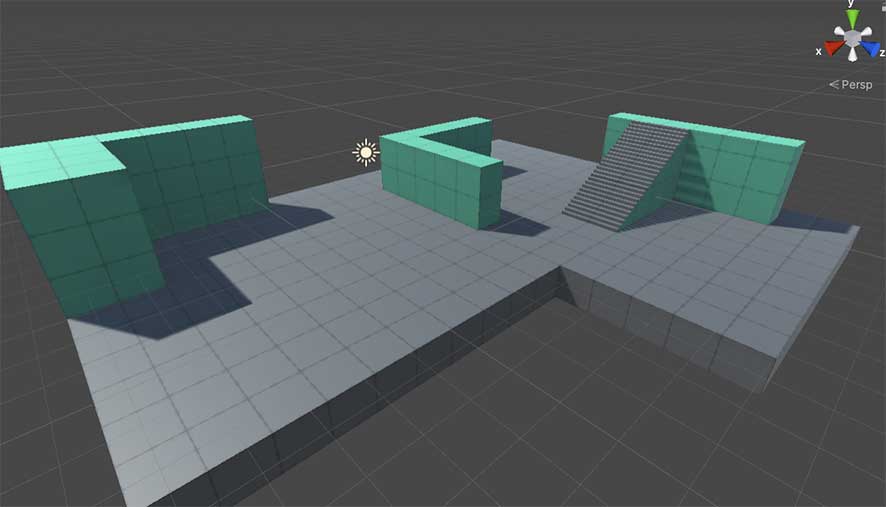
When it comes to 3D scenes, it's best to start with building the set, adding props and lighting. This step doesn't involve AC, so you can use whatever tools or graphic assets you like. Here, we have a simple set made using ProBuilder:
The next step is to convert the scene into an "AC scene". To do this, open up the Scene Manager and choose one of the Organise scene options:
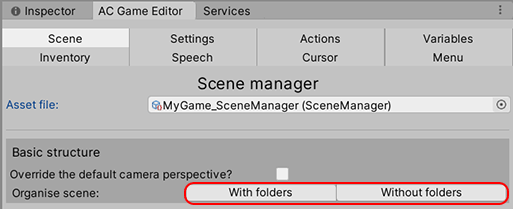
With or without folders? Folders will be used to clean up your Hierarchy, by grouping AC objects together, but this is only to keep things tidy and make no difference to the game itself.
Once you've made a choice, the rest of the Scene Manager will be populated with more options and fields. A blue arrow will also have appeared in the scene's centre:
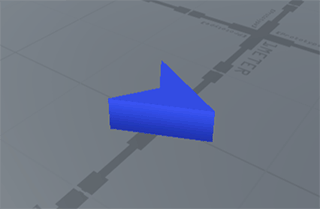
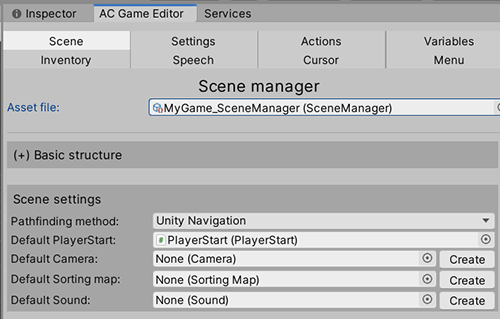
This is the Default PlayerStart, and is where the Player will appear if they begin the game from this scene. While a Player isn't necessary, a PlayerStart is - as it also lets us choose the starting camera. These can be set in the Scene Manager's Scene settings panel:
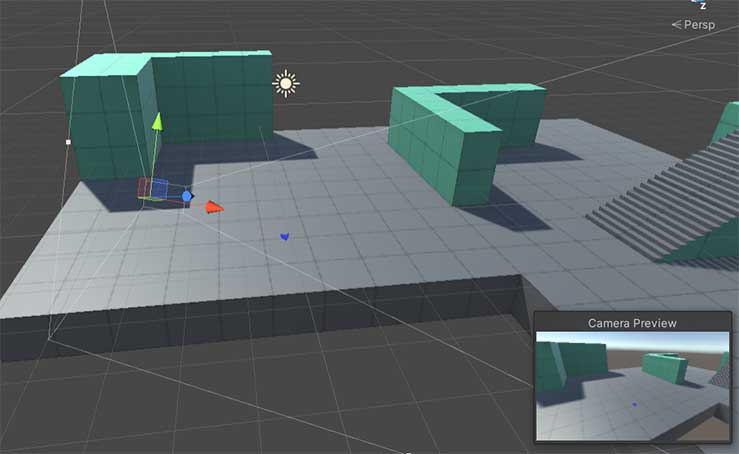
Besides Default camera, click Create to create and assign a new camera, which will be active when the scene begins. In Unity's Scene window, place this somewhere appropriate:
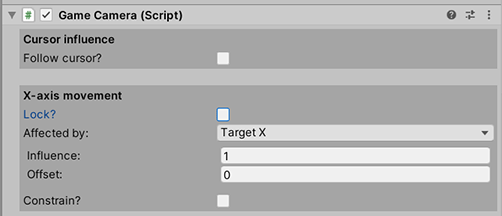
This camera type is a Game Camera, and can be configured to move with its target (by default, the Player). In its Inspector, uncheck any of the Lock? boxes to configure how it moves along a given axis:
When working in Edit Mode, it's not always obvious what the best values for a Game Camera are. It's usually best to play with them while the game is running, and then copy/paste the component after exiting Play Mode.
If we are making a Direct-control game, where the Player is moved directly through inputs, we'll need to make sure our scene has colliders that stop them from moving through the walls or the floor - as well as any props we may have. See Unity's own docs for the kind of Collider components available. Here, we've added a Box Collider to a typical prop:

If we want characters to be able to navigate around a scene on their own - or make use of "Point and click" movement - then we'll need to make a NavMesh. The easiest way to do this is to rely on Unity's own Navigation tools. For a tutorial on this process, see here.
When making a point-and-click game, it's best to keep the number of prop and wall colliders to a minimum, since character movement will be based entirely on the shape of the NavMesh. For this type of game, colliders are best used when we want to "block" mouse clicks from reaching props that the player cannot see, e.g. when behind a wall.
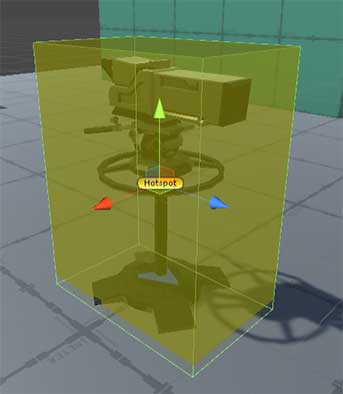
With our navigation and camera set up, we can now place down Hotspots to add interactivity. In the Scene Manager's Scene prefabs panel, click Hotspot to create a new Hotspot. A Hotspot marks an area of the scene that is interactive, and is represented by a yellow cube. Move and re-shape this Hotspot over an object you wish to make interactive:
Hotspots can also be created by adding the Hotspot component to an existing prop - so long as it has a collider placed on the Default layer.
Hotspots and interactivity are a big topic, so check out the dedicated Interactivity tutorials for much more on them.
For now though, running the scene should cause our Player to appear at the PlayerStart, the NavCam be active, and our Hotspot be visible: