Many of the 90s Sierra adventure games (and others beside) displayed a portrait graphic of the currently-speaking character. This can be achieved in Adventure Creator by using Menus.
To assign a portrait graphic for a character, go to their NPC or Player Inspector, and find the Dialogue settings panel. The Portrait graphic field can be assigned from there:
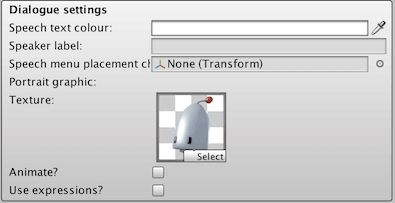
Such graphics can be animated by checking Animate? and configuring the fields that appear. The texture will need to contain all frames arranged in a grid pattern, and the texture's asset file will need to have Read / Write Enabled checked.
To display this portrait graphic when the character speaks, we need to update the subtitle menu. The default interface, as generated when using the New Game Wizard has a Subtitles menu in the Menu Manager:
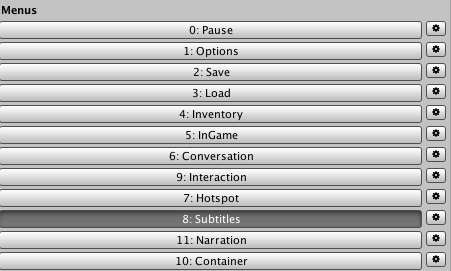
It's Appear type is set to When Speech Plays, which means that it will be shown when any character starts talking.
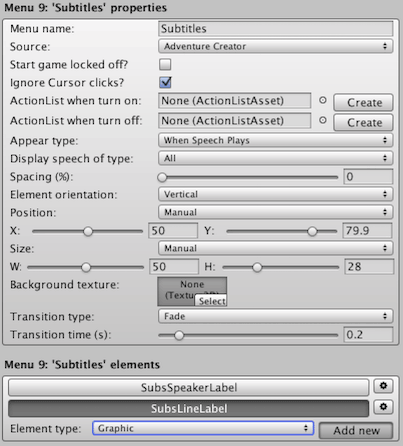
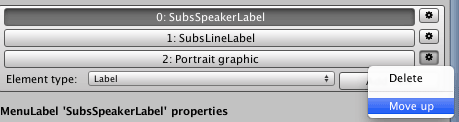
By default, this Menu displays the name of the speaking Character, and their speech line, but not their portrait graphic. Let's add the portrait graphic to the left of the text labels. Underneath the list of elements, change the Element type to Graphic, and click Add new.
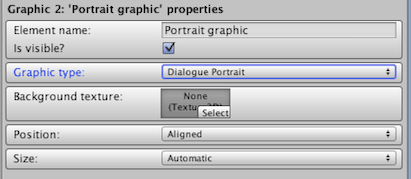
Change the new element's name to Portrait graphic, and the Graphic type to Dialogue Portrait.
If the Menu's Source is set to Adventure Creator, we can configure it's appearance in this list of properties. To make more space in the Menu for the new Label, increase the Size Width to around 61.3.

To preview AC menus while in Edit mode, open the Game window and make sure Preview in Game window? is checked at the top of the Menu Manager.
Since the Position of the current Elements are all set to Aligned, they are arranged vertically on the left side of the Menu, with the portrait graphic underneath the other two.
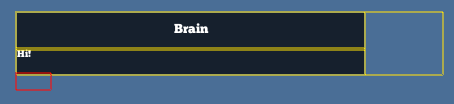
Move the Portrait graphic to the top by clicking it's cog icon and choosing Move up twice.
Now set it's Size to Manual, and increase the width and height to something more appropriate:

We now want to position the other two Labels to the right of the Portrait graphic, so set the Position value of each to Relative To Menu Size, and adjust the sliders to position them as follows:

When Characters now speak, their portrait graphic will be displayed:

Alternatively, If the Menu's Source is set to Unity Ui Prefab, you will need to update the UI prefab with a new Image component, and assign that in the Graphic element's list of properties.
To change a character's portrait graphic at runtime, use the Character: Switch portrait Action.
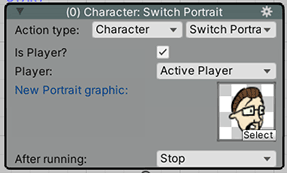
In order to record such changes in save-game files, all portrait graphics must be given a unique filename, and placed in a Resources asset folder.