Tint maps are used to alter the colour of 2D sprites dynamically as they move around a scene, allowing for some nice lighting effects. For example - to make a character darker as they move into shadow.
We'll be making use of the following texture to tint the scene. Right-click on it to download it to your Assets folder:
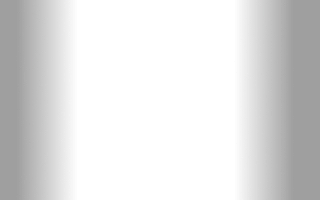
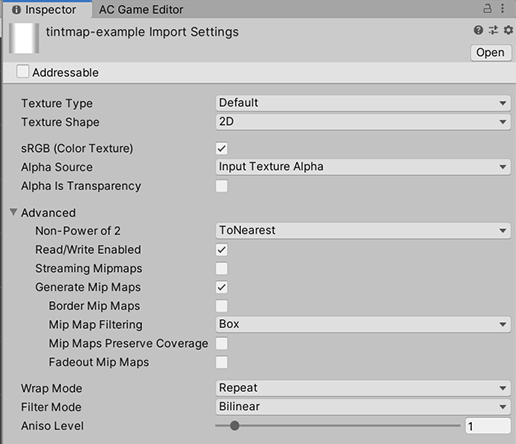
Select it within Unity, and view it's Inspector window. Change the Texture Type to Default, and check Read/Write Enabled. The Tint map will not work with this texture unless we make these changes. Click Apply at the bottom.
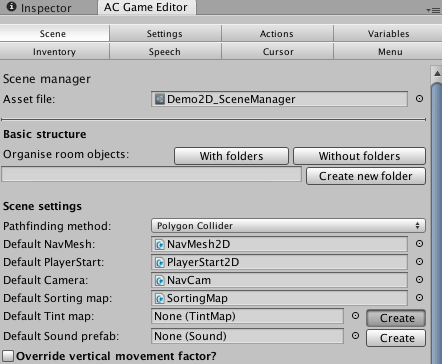
Open an existing 2D scene (such as that covered in the previous tutorials), and go to the Scene Manager. Under Scene settings, click Create beside Default Tint map to auto-create and assign a new Tint map.
Select the new Tint map (named "Default TintMap") and view it's Inspector. Drag the tintmap-example texture we downloaded into the Texture to use slot:

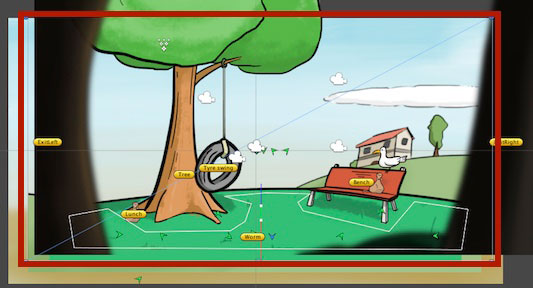
In the Scene Window, you can see that it is placed behind the rest of the scene geometry for us. You can move it in front if you prefer - the Disable mesh renderer? box in the Inspector will prevent it from being visible during gameplay. Using the Rectangle manipulator or the Scale / Transform manipulators, stretch it out so that it spans the same width and height as the background sprites.
Now we just need to tell our Player prefab that it can make use of this Tint map. Edit your Player object or prefab, and navigate to their sprite child within their Hierarchy. Add the Follow Tint Map component, and leave the settings at their default values.
The Player's sprite will now get darker as he nears the edges of the scene. This is because the sides of the tintmap-example texture have dark edges, and is tinting the sprite in the same way.

And that's the basics of creating 2D scenes! Other aspects like Hotspots, Menus and more are independent of the camera perspective - skip to the later tutorials to learn more about them.