In this tutorial, we'll create an object that the player can pick up and manipulate with the mouse cursor or touch screen. Though we'll be using the "rock" asset from the Physics demo, these steps will work for any mesh object.
To follow along exactly, download the physics demo package file below and import it into your project.
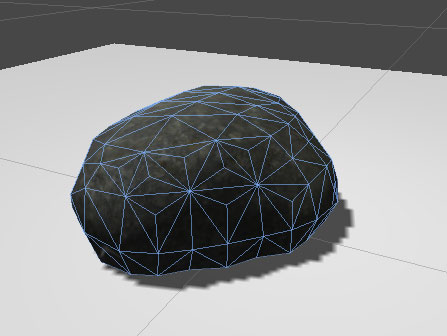
Assuming we already have a scene ready for our rock to be placed in, locate the rock model within Assets → PhysicsDemo → Models → Rock, and drag Rock.fbx into the scene. You can give it the included Rock material as well, if you wish.
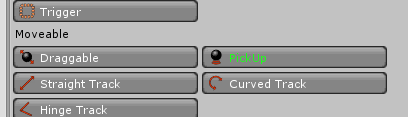
Next, open the Scene Manager and find the list of prefabs. If they aren't listed, click Organise room objects, and then look for the PickUp icon underneath Moveable.
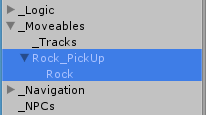
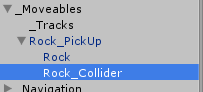
Double-click the icon to create a new PickUp prefab, and rename it Rock PickUp. Next, drag the Rock model onto the prefab, so that it becomes a child object. Your hierarchy should look like this:
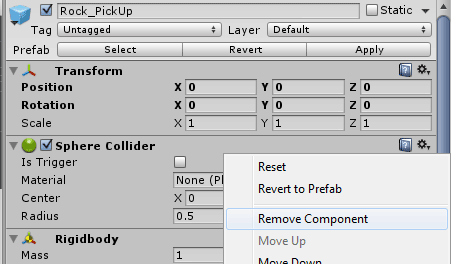
By default, the PickUp prefab includes a Sphere Collider to handle physics, as well as to mark the "click area" that the mouse can detect. Since our rock isn't spherical, we'll remove it and add another as a child, so that we can scale it. Begin by removing the Sphere Collider component by clicking the cog to the top-right and choosing Remove component:
With Rock PickUp still selected, add an empty child to it by choosing GameObject -> Create Empty Child from the top toolbar. Rename it Rock_Collider.
Add a new Box Collider to this child object, and use the Grab and Scale manipulators so that it covers the mesh. For greater accuracy, you could instead use a custom Mesh Collider.

Our rock is now ready to be picked up! Run the scene and test dragging the rock around. At this point, we can only translate it in screen space - we can't rotate it, nor move it further away or closer in.
We can enable each of these functions within the Rock_PickUp object's Moveable_Pick Up component. Check Allow rotation?, Allow zooming? and Allow throwing?, and additional fields will appear each time. The values of these fields depend on the specifics of your scene, how large your object is, and so on - so tweak them to suit. However, the default values should be enough to see the effects.
To make use of these new controls, we'll need to define some new Input axes. Open the InputManager by choosing Edit -> Project Settings -> Input from the top toolbar, and define the following Inputs:
- RotateMoveable - A Button that, when held down, causes mouse movement to rotate the object
- RotateMoveableToggle - A Button that, when pressed, toggles between movement and rotation modes
- ThrowMoveable - A Button that, when held down, charges a throw. When released, the object is thrown
- ZoomMoveable - An Axis that moves the held object closer to, and further away from, the active camera